Truth be told, there are a few home maintenance equipment that serve us faithfully than a lawn mower. Sadly, despite their rough life, lawnmowers rarely get the attention they deserve.
This is very evident when it comes to a mower’s carburetor which is a very key component for functionality. A lawnmower’s carburetor determines the period that your lawn mower will serve you.
Also, in addition to dirty spark plug, old fuel and unclean air filters, a dirty carburetor is one of the key reasons why a lawn mower may stop running propeller fail to start. As such, the need to clean lawn mower carburetor can’t be overlooked.

Lawn mower carburetors aren’t hard to unfix and clean. Unfortunately, many mowers fear taking the carburetor apart, opting to take it to a repair shop. Undoubtedly, by doing so you ought to cough out some cash regardless of the fact that a dirty carburetor is something that you can easily fix.
If you’re an enthusiastic DIYer or just a normal mower who who wish to save him/herself some cash, learning how to clean lawn mower carburetor will come in handy. Additionally, it’s a vital maintenance routine.
How Often To Clean Lawn Mower Carb
As expected, this varies. A regular user will undoubtedly have the lawnmower’s carburetor covered with lawn debris faster compared to a non-regular user. The logic here is simple: with continued use, the grass, debris and twigs find their way into the carburetor and eventually clog the fuel and air passages. Needless to say, this makes the mower’s engine inefficient
We recommend an annual lawn mower carburetor maintenance schedule to increase the lifespan of the machine and improve its fuel efficiency.
For heavy users, it’s advisable that you clean your lawn mower carburetor more than once annually. Here is all you need to know on matters cleaning a lawn mower carburetor.
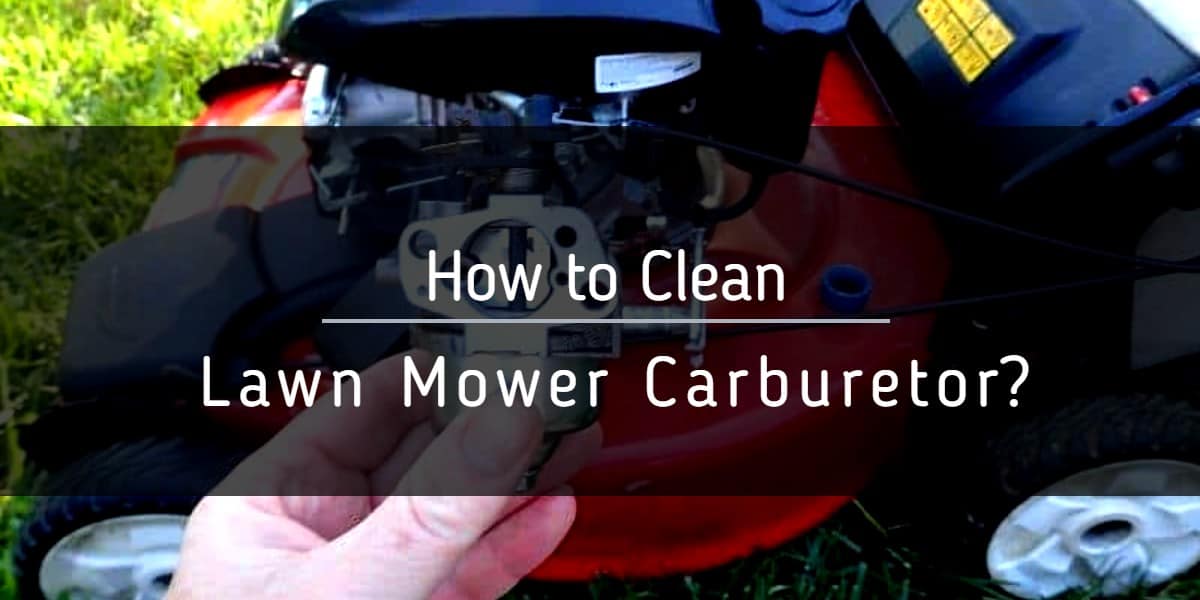
Detailed Guide on How to Clean Lawn Mower Carburetor
If this is the first time you’re cleaning the carburetor and you’re not sure about how to reassemble it afterwards, you can take a video/photo every stage you unfix something. This will serve as a guide when reassembling it to ensure everything goes back to its place.
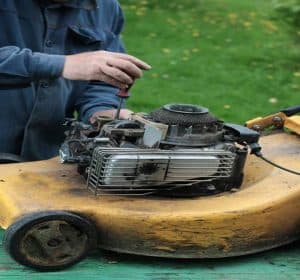
1.Safety First
They say that ‘safety is better than first aid.’ As such, it’s very important that every time you carry out repair or maintenance work of any kind, let safety be a key concern. For instance, when taking apart a carburetor, the old oil can be highly toxic, ensure you’re working in a well-ventilated area. In case you’re in your home garage, ensure that all the windows and doors are open. You can also use a garage fan, if you have one. If your shed does not have any ventilation areas, consider working elsewhere.
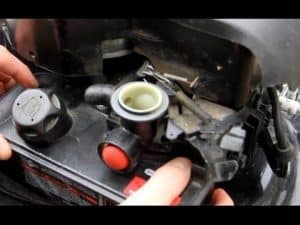
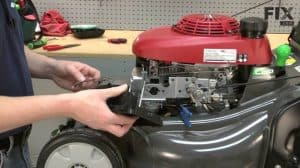
2. Remove the Outer Casing and Air Filter
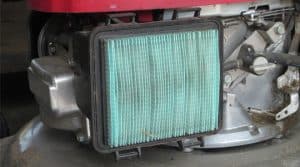
The procedure on this depends on the type of your lawn mower. Ideally, it involves un-tightening of a few screws and removal of the covering panel to reveal the mower’s innards. Once your remove the air filters, you’ll see the carburetor. Check your Air Filters to ensure they’re clean and free of debris. Dirty air filters can create black smoke that spills from the exhaust thus making it hard for the carburetor to get the air it needs to function properly.
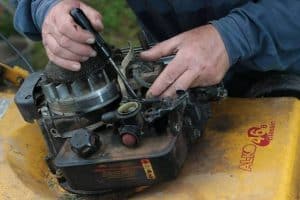
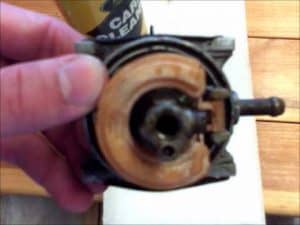
3. Removing the Carburetor
The carburetor is normally firmly bolted in place but it comes off easily. Using a nut driver, unbolt it and then drain the fuel line while holding it to the engine.Detach the throttle cables and be ready with a rag or any piece of cloth to wipe any spillage of fuel on the carburetor and the fuel line.
Detach the carburetor from the engine and inspect all connections that run to and from the carburetor’s choke plates and throttle. If you find out that the carburetor is corroded, it’s toast, replace it with a new one. If not, proceed as below
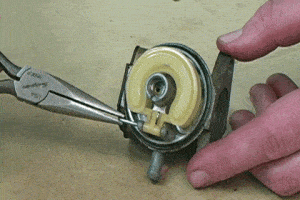
4. Unbolt the carburetor’s bowl and clean the nut
Use a carburetor cleaner to clean around it.Unscrew the nut to remove the bowl. This nut is usually a jetted hole. Poke a paper clip inside to ensure that the hole is free of any dirt.
Presence of simple debris inside this hole will readily make the carburetor stop working properly; cleaning it may fix the problem.
5. Replace the needle
After removing the bowl, you’ll see a pin attaching the float attached to the carburetor. Remove it and replace the needle-normally found in a small gasket inside the carburetor.
Consider replacing it and be keen to fit it the right way to avoid future malfunctions.
6. Use a carburetor cleaner to get rid of dirt deposits within the carburetor
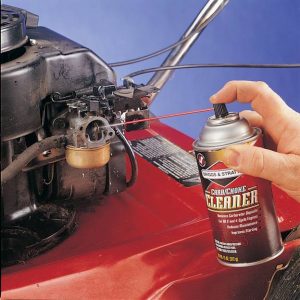
Dirt within the carburetor can block both fuel and air passages thus interrupting its performance.
The commercial lawnmower carburetor cleaner comes in a spray can that can easily clean the inside and outside parts of the carburetor.
Having removed all parts of the carburetor, clean them by applying a spray of the carburetor cleaner.Using a paperclip, remove any dirt inside the holes of the carburetor. Ensure they are clear of any debris.
7. Replace the gasket
After taking apart the carburetor, we advise that you replace the main gasket.
This is normally found between the bowl and the carburetor itself. What’s more, these gaskets are inexpensive. Simply get a new one and fit it in its place.
8. Check its settings
After the cleanup, check the carburetor’s settings and find out if there’s anything that should be updated or adjusted.
For those mower users who don’t buy this idea, here’s the truth: carb cleaning is incomplete without this step, why? Simply because while you were busy cleaning, you could have opened up some wires that are very essential for your carburetor’s engine to function. It beats logic, right?

To do this, use a flashlight to inspect if everything is fixed rightly. After ascertaining that all this is done, start the engine. Ideally, it should have a smoother start and shouldn’t produce any shaking sound after cleaning the carburetor.
9. Reassemble and reattach
If you had taken some photos during the process, let them guide you in putting back the carburetor and reattaching it to the engine. After this, add fuel and start the engine. If your lawn mower had start up problems because of dirt, it should now start up very easily.
Takeaway
As you can now affirm, cleaning a lawn mower carburetor is that easy and can save you money, even if you aren’t experienced in working with machines and engines. After understanding how to clean lawn mower carburetor, your lawnmower will stay in good shape and will serve you for years to come, regardless of how hard you use it.Best of luck in your next carb cleaning project.
You can Read Our Various Mower’s Reviews: