Installing the casing of the interior door with their own hands
A complete repair in any room depends even on the most minor, and at first glance inconspicuous things. Often we do not give it much attention, and then, eventually, the overall picture of repair is not formed. Today we will talk about such a small thing as a platband. This, at first glance, trifle, its absence can completely spoil the picture of a new repair. That is why we will consider how to put the door trim. This procedure is quite simple, but requires not just any accuracy. After all, if you do not make the right angle, then you will not achieve the beauty.
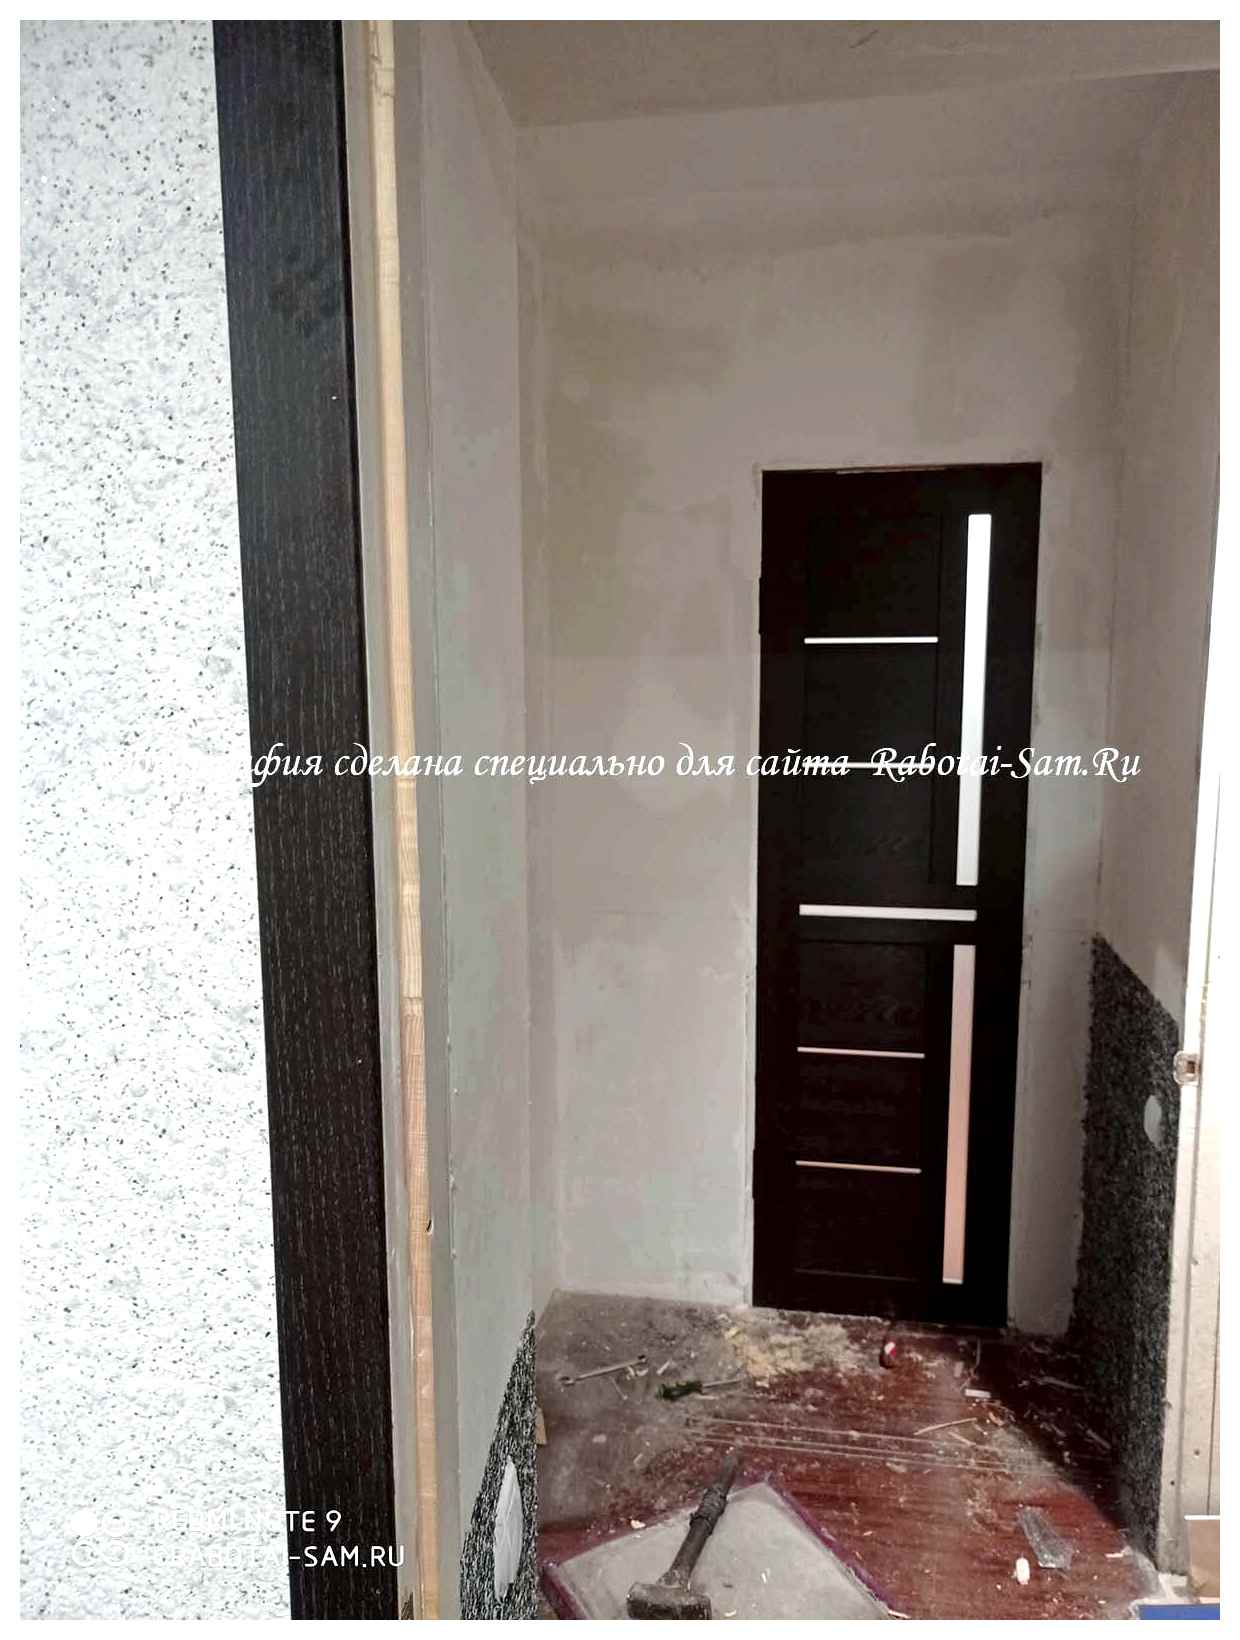
The first thing we need to figure out how many linear meters of trim we need. It is not difficult to calculate. Let’s measure the size of the door frame, add 20 cm for reserve, and buy the architrave. It’s just a small thing, let’s see how to attach the strips on the interior doors. For their installation we will use invisible nails. When doing the work there were a little problem with the wall, but about all this we will tell you in our step-by-step instructions. Our masters do not disregard even such trifles, and are ready to share all the secrets they know.
Levelling the wall before installing the door trim
After you have purchased all the necessary materials in a construction store, you need to take care of preparing the door for the installation of these very trims. But, before that, let’s figure out what tools we will need today. No special tools required. How to put on interior doors with a minimum set of tools? Learn about this in our article.
- A tape measure, a pencil and a building square.
- Chisel.
- Wood or metal saw.
- Hammer and pliers.
Having all these tools available, you can easily cope with the task yourself. Many people wonder how to put platbands on uneven walls? It is quite feasible, except that the end result will not be quite satisfactory. In order to install the casing beautifully, it is necessary to align the wall in the place where they fit. So the first step of our step-by-step instructions do for people with uneven walls in the house.
rough wall leveling. If you do not know how to fit the trims under the curve of the wall, the trims do not fit well to the wall, you need to level the wall in any way. If there is a bulge, then you can remove it with a peorator with a special nozzle. If a lot of “bumps”, then level the wall with putty will be easier. We choose one of the proposed options and proceed to the second step of our instruction.
Finishing alignment of the wall. Now it is necessary to deduce a wall in an ideal, we do it by means of a finish putty. That way we achieve the maximum smoothness of the wall. As a reference point, you can use the same architrave. Apply it to the wall, and make sure that the adherence to the wall is good. We wait until the putty dries, and then proceed to the following steps.
wall primer. In order to protect the wall from external factors (moisture, humidity, mold), the surface must be primed. That way nothing will happen to the wall under the future architrave.
These were just the first preparatory steps in our article on how to attach the door trim. Basically, the alignment of the walls is directly during the repair in the room. But if you thought that under the casing wall leveling is not necessary, you are deeply mistaken. If your walls are made of gypsum plasterboard, then you will not have any problem with leveling, the plasterboard is even.
Installing the upholstery on the doors by ourselves: 2 ways of installation
Two different methods of installation can be used for the installation of door trim, namely:
In both cases the installation of the architraves requires time, attention and effort because it is a difficult procedure.
To choose a door suitable for your interior, you can buy doors in bulk in our catalog.
The method of installation with an undercut of 45 degrees
In this method of installation, the master will trim the places where the individual elements of the whole set are joined into a single structure, observing an angle of 45 degrees. This method is the most popular and is suitable for working with any type of trim, regardless of its configuration. In terms of shape, the profiles can vary, having:
The difficulty of installing the trim strips yourself lies in the process of trimming the corners. With a coping saw the procedure is simplified: the cut is even and neat. In other cases, it is necessary to make an effort to obtain a satisfactory result. Especially difficult is the machining of colored laminated or veneered workpieces. A normal jigsaw is not enough to obtain an optimal evenness and precision cut without causing chipping on the face. It is necessary to use hand tools:
- The pliers. It is a primitive hand tool that does not guarantee accuracy. Represents a kind of notch, a template with slots that define the angle of cut. Very soon the jigsaw will cause the kerf to break, thus completely eliminating precision. The mortiser belongs to the category of disposable tools.
- Rotary hacksaw. The optimum and long-lasting device for a cleaner cut. For processing, it is enough to turn the saw, observing the necessary parameters of the angle and, making movements manually, to make a cut.
In addition, the installation of trim on the interior doors with their own hands provides for another method of trimming. In this case, it is necessary to independently mark the line for the trimmer and, observing the angle, perform a cut with an electric jigsaw or an ordinary hacksaw for metal processing.
Installation method with a trim of 90 degrees
This mounting technology involves the connection of individual slats at an angle of ninety degrees, that is, perpendicular to each other. Side trim panel as if holding the upper one embedded between them. This makes it easier to trim and fit the area where the elements are joined.
The method under consideration also requires observance of accuracy and cleanness of the cut without splinters. Perfect jointing is possible only when working with straight, rectangular trim without rounding. So, the master has to perform very accurate calculation of the side and upper elements.
If you have to work with rounded on the corners of trim, a straight cut is not suitable. The rounding will give out the end part of the top rail. To avoid such a result, you will have to make an oblique cut. Direction of the angle is from the right to the left side of the trim. The rest of the jointing is also carried out at an angle of ninety degrees.
It is important to remember that the installation of platbands with a fully rounded or carved design does not provide for this method. Install such trim only at an angle of 45 degrees.
Installation procedure consists of several steps, namely:
- Measure from the existing door frame. First measure the height of the bowstring along its entire length, beginning at floor level and ending at the point of intersection of the upper joist. note down or make a note of your measurement.
- Mark the measurements on the long bar, starting with the flattest edge. If you have no straight edges, make a straight line for the trimmer and cut along it, as close to the edge as possible. Be sure to flatten out the cut and set aside the desired size. Note, when performing mounting at an angle of 45 degrees, add 3 millimeters to the figures, taking into account the door overhangs. If you install at an angle of 90 degrees, add 3 millimeters to the width of the trim.
- Perform trimming of the upper part of the platband according to the prepared marking according to the chosen technology of installation.
- Install the first plank. It is better to do it from the side where the overhangs are located. Use small nails with copper coated nails that provide bite off the head to fix the strips. Since copper tends to darken over time, points from the fixing points will remain invisible.
- Similarly prepare and fix the second platband in the side for installation. Be sure to match its length with the length of the first platband. In some cases, an uneven floor or a curved door unit can cause deviations. It is desirable to take measurements separately.
- Trim the top platband on both sides. Be sure to try it on after trimming one edge. If there are no deviations, measure and cut the second edge. Otherwise you will have to buy a new platband.
Calculate the dimensions at the first time, not having experience in installing platbands, it is very difficult. Thus, at the end of the installation, the novice craftsman may find problems in the form of gaps in the joints of the elements. No need to worry. There is a quick and inexpensive way to fix the situation without the need to do the re-mounting and the associated cost of new trim.
To mask the gaps after installation, fill them with furniture wax paste of the desired color. The result will be quite neat and attractive. Buy wax-based paste can be in any construction store or on the market. As for the rest of the moments, here there should not be a problem, even for a beginner. The only requirement is to measure accurately and be careful when fixing. Detailed instructions will help you to avoid potential complications and get high-quality workmanship.
Installing the wooden trim: installation with trimming corners at 90 °
This method of solving the question of how to install the strips on the door, is not suitable for all types of this product. If we are talking about moldings of a clear rectangular section or with small rounded edges, then you can’t think of anything better. Concludes this method of installation is that the connection slats are made at an angle of 90° with respect to each other. In this case, the upper platband is as if inserted between the two side platbands. This is the point that facilitates trimming and fitting the joints.
But everything is not so simple here. you can’t do without precise measuring and accurate, clean, without chips sawing here as well. Only plates having rectangular configuration without rounded edges can be perfectly butted. in this case you should only calculate to the millimeters the height of side trims and the length of top rail.
Slightly more complicated things are with flashings that have rounded edges. in this case you can not do without the usual straight cut. Thanks to the rounding of the straight trimming the ends of the upper trim are visible. There is only one way to hide them. to make an oblique cut. The slant must be directed from the front side of the batten to the back. in general the junction remains under 90°.
! If we are talking about installing the trimmer by hand, having a completely rounded or carved configuration, this method of installation is not suitable. this type of product must be installed with trimming at 45 °.
How to install the right trim: installation technology
So, with the methods of trimming the corners of trim strips we have decided, now it remains to deal directly with the process of installation from “A” to “Z”. Let’s present it in the form of a small manual.
- Let’s take the measurements from the door block. first of all measure the height of the counter batten from the floor and to the place of its intersection with the upper beam of the door. Write down this size.
- Take one of the longest strips and postpone the written result from the straightest end of the architrave. If you do not have such, then as close as possible to the edge, use an angle to outline a straight line for the trimmer and end it, and then set aside this size. Here is one detail. if the trimming will be performed under 45 °, then our size to add 3mm (they are explained by the door awnings, which move the architrave from the edge of the box at this distance). If you will connect the trim strips at 90°, you will need to add the width of the installed trim strips in addition to this 3 mm.
- Now, depending on the installation method you choose, trim the top edge of the architrave according to the markings.
- Install the first trim. preferably start with the side with the overhangs. Fasten the slat with the help of small copper-plated nails, which head is bitten off with pliers. Subsequently, the copper will darken, and the small dots will not be conspicuous.
- The second side trim is cut in exactly the same way and then it is installed in place in a similar way. The only thing you need to pay extra attention to here is its length. it may vary in millimeters, and it depends on the evenness of the floor and the correct installation of the door unit. In general, for him it is better to take measurements separately, rather than use the previous.
- Now the upper trim. The complexity of the trimming is that you need to cut two ends. First you have to cut one edge and then try it on beforehand. If everything is normal, then measured the place of the second cut and made the cut. a mistake at this stage of the work is fraught with the purchase of a new platband.
For beginners, who will probably not be able to calculate the dimensions of the upper platband accurately on the first try, I will tell you how to get rid of gaps. If you have unsightly gaps at the joints, there is only one way to hide them. This gap must be spread on both sides of the door block and then covered with a wax paste designed to remove chips on furniture. It is available on all markets and is available in different colors. But for the rest the installation of the door trims should not cause any problems, the most important thing here is the accuracy and precision.