Replacing a faulty charging board with a power supply unit from a computer
In the case when the charging board is faulty in the set of the screwdriver control unit, in order to make the network option, a power supply unit with parameters suitable for voltage and power is installed. Sometimes the power supply comes from a personal computer. It should be borne in mind that the mains supply is converted to 12 volts DC, the screwdriver at idle consumes up to 4A current, for a short time at the moment of tightening. more than 40A, then the peak value of power consumption can be up to 480 W.
You can install a PSU from a laptop, they are compact and easy to use, but the maximum power of these models is within 100W, a little more is not always enough.
Laptop power supply

The output voltage is 19V, there are screwdrivers with such a power supply.
Power (P) = 19 A x 6.15 A = 117 W, then you can add a 12V converter, and the screwdriver will idle and tighten the bolts with little effort. When screwing self-tapping screws into a dense wooden surface, such a power supply may not last long. it will burn.
The location of the power supply inside the PC system unit
It is safer to use power supplies from the system units of stationary computers. They are more powerful and in all respects are suitable for connection to screwdrivers.
The peak power of such a power supply is 500W; the nominal load for long-term operation is 460W, this is just what you need for a screwdriver with a 12V power supply.
AX500-A board in a housing
There is a fan on the top cover of the metal case, which is connected via connectors to the board. Ventilated cooling allows the PSU to withstand high peak loads of 500W for a few minutes. Sometimes the fans are located on the side walls, it depends on the PSU model.
To connect such a power supply to a screwdriver, you need to perform just a few operations:
- Disconnect all power supply connectors from the motherboard and other elements of the system unit;
- Unscrew the fastening screws on the power supply unit and the system unit, then remove it from the system unit;
- There are no problems with connecting to a 220V network, a wire with a connector is included in the power supply kit;
- You will have to look for a 12 volt output, there are even two of them in this PSU model, you can find it by the markings on the printed circuit board. On some connectors, the output voltage is written opposite the pins;

F5L071ak200W | ഇൻവെർട്ടർ അടിച്ചു പോയി | Repair a Car Inverter | Fuse Blown out
Designation of contacts on PSU connectors
For your information. When there are no inscriptions, you can navigate by the color of the conductors; in this series, 12V power supplies are connected from the board to the connector by wires with yellow insulation. The minus connection is done with black wires.
- To check the correctness of the selected pair, you need to turn on the power supply and measure the voltage with a multimeter;
Note! In our case, a pulsed power supply unit is used, which will not start outside the system unit circuit. Without going into the details of the operation of individual semiconductor elements, we will simply accept as an axiom that a refinement is needed, which consists in a simple jumper.
- The green wire, designed to turn on the power supply unit according to the standard scheme, must be connected to the black conductor, this is done directly on the board. An extra piece of green wire is bite off, the remaining end is stripped and soldered to the board track to the black conductor;
Modification in the power supply unit AX500-A, installation of a jumper
- After the completion of the revision, the power supply unit can be connected to the network and check the presence of 12V on the selected pair of wires with a multimeter;
- The yellow and black conductors can be lengthened and the connector soldered to them;
- In the battery case for connecting a screwdriver, as in the previous cases, galvanic cans that have served their life are removed, and the mating part of the connector to the mowing line from the power supply is installed. The options may be different, you can solder the cord to the screwdriver, and the connector can be connected to the power supply, to whom it is convenient;
The conclusions from the 12V power supply are soldered to the connector that goes to the screwdriver
- When soldering connectors and connections, do not forget to first put heat-shrinkable tubes on the wires and shrink them with a hot air gun, isolating the soldering points. As a last resort, do it with ordinary duct tape;
- Unused leads from the power supply unit can be bitten off or rolled up, the ends can be insulated and folded inside the case.
Block AX500-A with fan
Note! Remember to connect the fan when assembling the case. If you unsoldered or bit off it during the installation process, you need to remember the connection contacts. The fan is powered by a 12V mowing line, by this indicator, you can easily find the connection points of the screwdriver.
Alteration of a screwdriver for power from an outlet network
In the economy of a modern person, a screwdriver is not a rare tool, practically this tool is an analogue of an electric drill. The advantage of this type is considered to be autonomous power supply from a portable battery embedded in the lower part of the handle. The battery must be periodically charged from the mains through a special charger, with prolonged use the battery fails, replacement is required, and they are not cheap. Therefore, many users are thinking about how to remake a cordless screwdriver so that it works on 220 volts.
General view of one of the options
Sometimes consumers decide that it is necessary to convert the screwdriver into an ordinary electric drill powered from a wall outlet. The question arises of how to do this with less time and money. If you have certain knowledge in electrical engineering and practical skills, then powering a screwdriver from a 220V network is easy to do. There are several ways using various devices to convert electricity to the appropriate form for rotating the screwdriver motor.

Alteration with a standard battery and charging
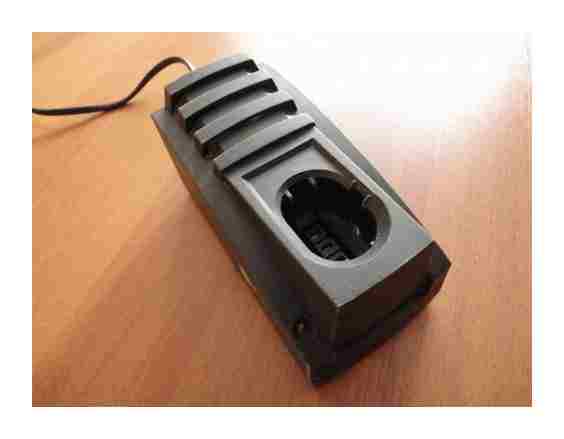
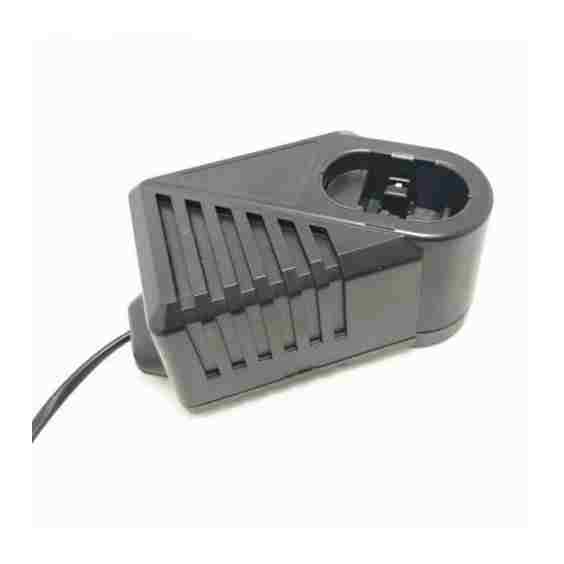
Converting a cordless screwdriver to a network one in this case assumes that the circuit is assembled on the basis of a standard charger. The following materials will be required:
- Charger;
- Accumulator battery;
- 2-3 meters of flexible stranded copper wire, with two conductors, section 2.5-4 mm2;
- The usual set of tools and consumables, a soldering iron, solder, electrical tape or heat shrink tubing of the appropriate diameter to the wires. To disassemble the screwdriver, you will need a screwdriver, side cutters and an assembly knife for cutting and stripping wires.
The sequence of operations in the process of converting a screwdriver into a network:
Wanna Repair/ Upgrade an Old Electric Screwdriver? Watch This First!
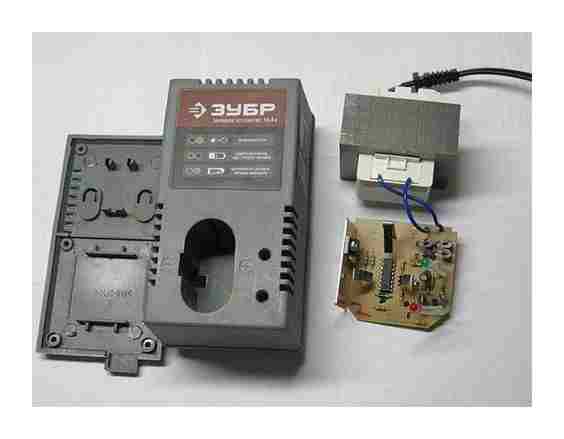
- The cover is removed from the charger case;
- The ends of the wire are soldered to the output contacts of the charger board, which are connected to the battery during charging, observing the polarity. A core with red insulation. to the “” terminal, with blue insulation. to the minus terminal;
Charger board
- Polarities can be determined by the inscriptions on the board or the product case. For reliability, you can turn on the charging and measure the 12V output with a multimeter, and determine the contacts by polarity;
- Galvanic cells are removed from the battery case;
How are galvanic cells removed from the battery compartment?
- A wire from charging is connected to the contacts inside the battery case, observing the polarity.
Thus, the screwdriver is transformed into a network one. When the device is plugged into the socket, the corresponding voltage of 12 or 18 V DC will be supplied to the input circuit of the screwdriver.
Polarity is recommended but not required. When the polarity changes, the motor shaft will rotate in the opposite direction, all modern screwdrivers have a polarity change switch, in fact, the rotation of the screwdriver chuck is reversed.
Important! The terminals on the charger board are usually made of a brass alloy, they must be soldered to copper wires with acid solder or removed altogether, and the wires must be soldered to the tracks of the printed circuit board.
Before soldering, holes are made in the battery and charger cases through which the wire is pulled. For a more rigid fixation, it can be tied into a knot within the body and wound with electrical tape so that the winding diameter exceeds the hole Ø.
Ways to remake a cordless screwdriver
Alteration of a screwdriver for mains power consists in converting 220V AC voltage to 12 or 18V DC voltage. One of the safest and easiest ways to convert a screwdriver into a network version is to use its standard components.
Transformer circuit for powering the screwdriver
One of the available ways to quickly power the screwdriver from the network is to use the classic circuit with a 220V / 12-15V step-down transformer and a diode bridge, an AC-to-DC converter.
Transformer power supply circuit
All elements are easily placed in any case, the necessary controls, monitoring and indication are displayed on the front panel.
Transformers and diodes with appropriate parameters, withstanding powers of more than 100W, can be taken from old household appliances (TVs, tape recorders), from voltage stabilizers and other power supplies. If necessary, we redo the transformer, wind up the secondary winding or put an output in the winding for a certain number of turns, to achieve 12-15V at the output.
Installation of elements of the transformer power supply in the case
It is recommended to place the diodes on a duralumin heatsink, which effectively removes heat, extending the service life. Having certain practical skills and knowledge in electrical engineering, the transformer can be wound with your own hands.
There are many power supplies on the market with suitable characteristics to power the screwdriver from the mains, but this requires financial costs. If you have an old system unit from a PC, it is easy to remake the power supply, especially since, if necessary, it is easy to restore it to its original state and use it for its intended purpose.